Work Time Tracking
Purpose/Overview
In this article, you will learn how to configure and use the Work Time Tracking feature. Work Time Tracking allows organizations to monitor how much time users spend working on tickets and work items. This feature helps improve visibility into workload, ensures accountability, and supports reporting and performance insights. It also enables optional breadcrumbing for location tracking, making it especially valuable for field operations.
Navigation Path:
To access this feature: Utilisphere > System Management > Administration > General > Time Tracking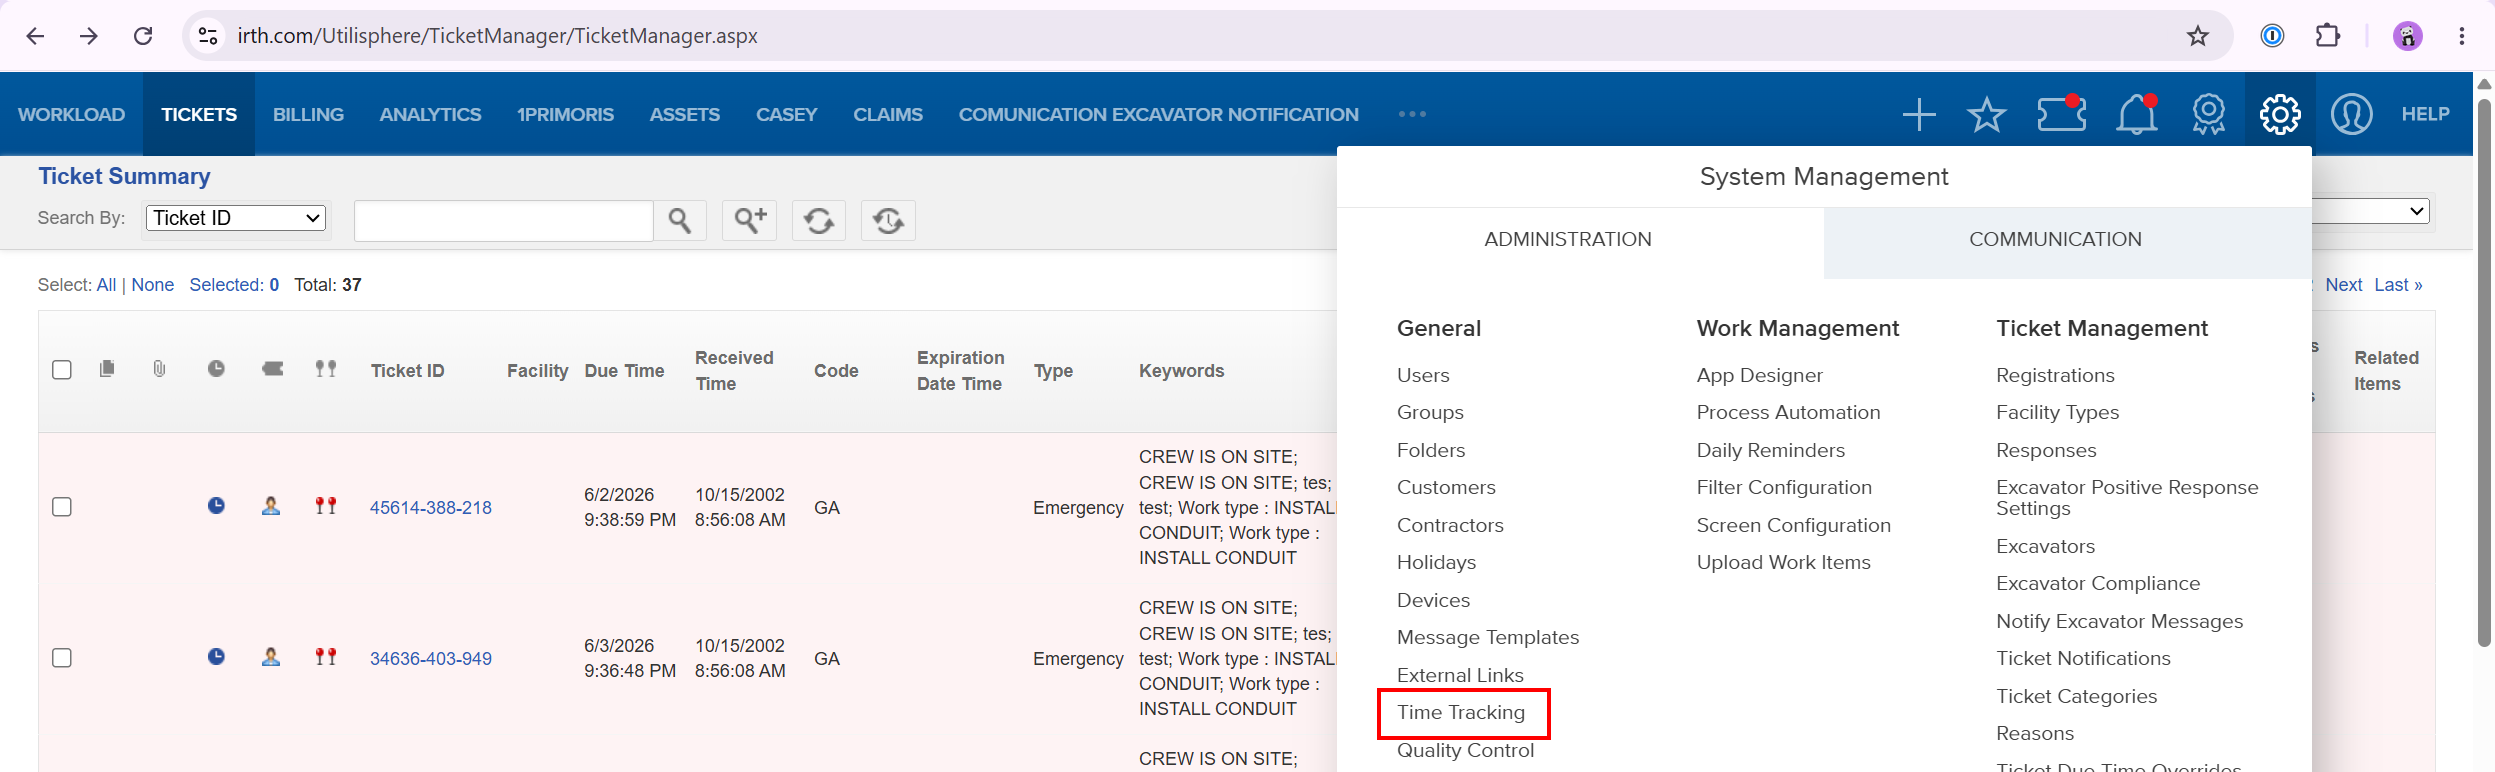
Things to Know:
- Users must have administrative permissions to configure Work Time Tracking settings.
- An item or form can use either Work Time Tracking or Breadcrumbing, but not both at the same time.
- Changes made in Work Time Tracking settings are automatically reflected in Form Settings (and vice versa).
- Breadcrumbing is only available on mobile platforms (iOS, Android, Windows) with GPS enabled.
- Automatic tracking can start and stop work based on user actions (such as opening or responding to a ticket).
- Time limits (if configured) can automatically end work, sync data, and unlock items.
Key Benefits/Use Cases:
- Improve Workforce Visibility: Track how long users spend on tickets or work items to support reporting and performance insights.
- Enforce Workflow Consistency: Require users to start work before accessing certain actions, ensuring proper process adherence.
- Support Field Operations with Location Tracking: Use breadcrumbing to capture a user’s path and verify work completion in the field.
How It Works:
Follow these steps to set up or enable Work Time Tracking:
Enable Ticket Work Time Tracking
Go to the Work Time Tracking Configuration page.
Select Configure Ticket Work Time Tracking.

Choose your settings:
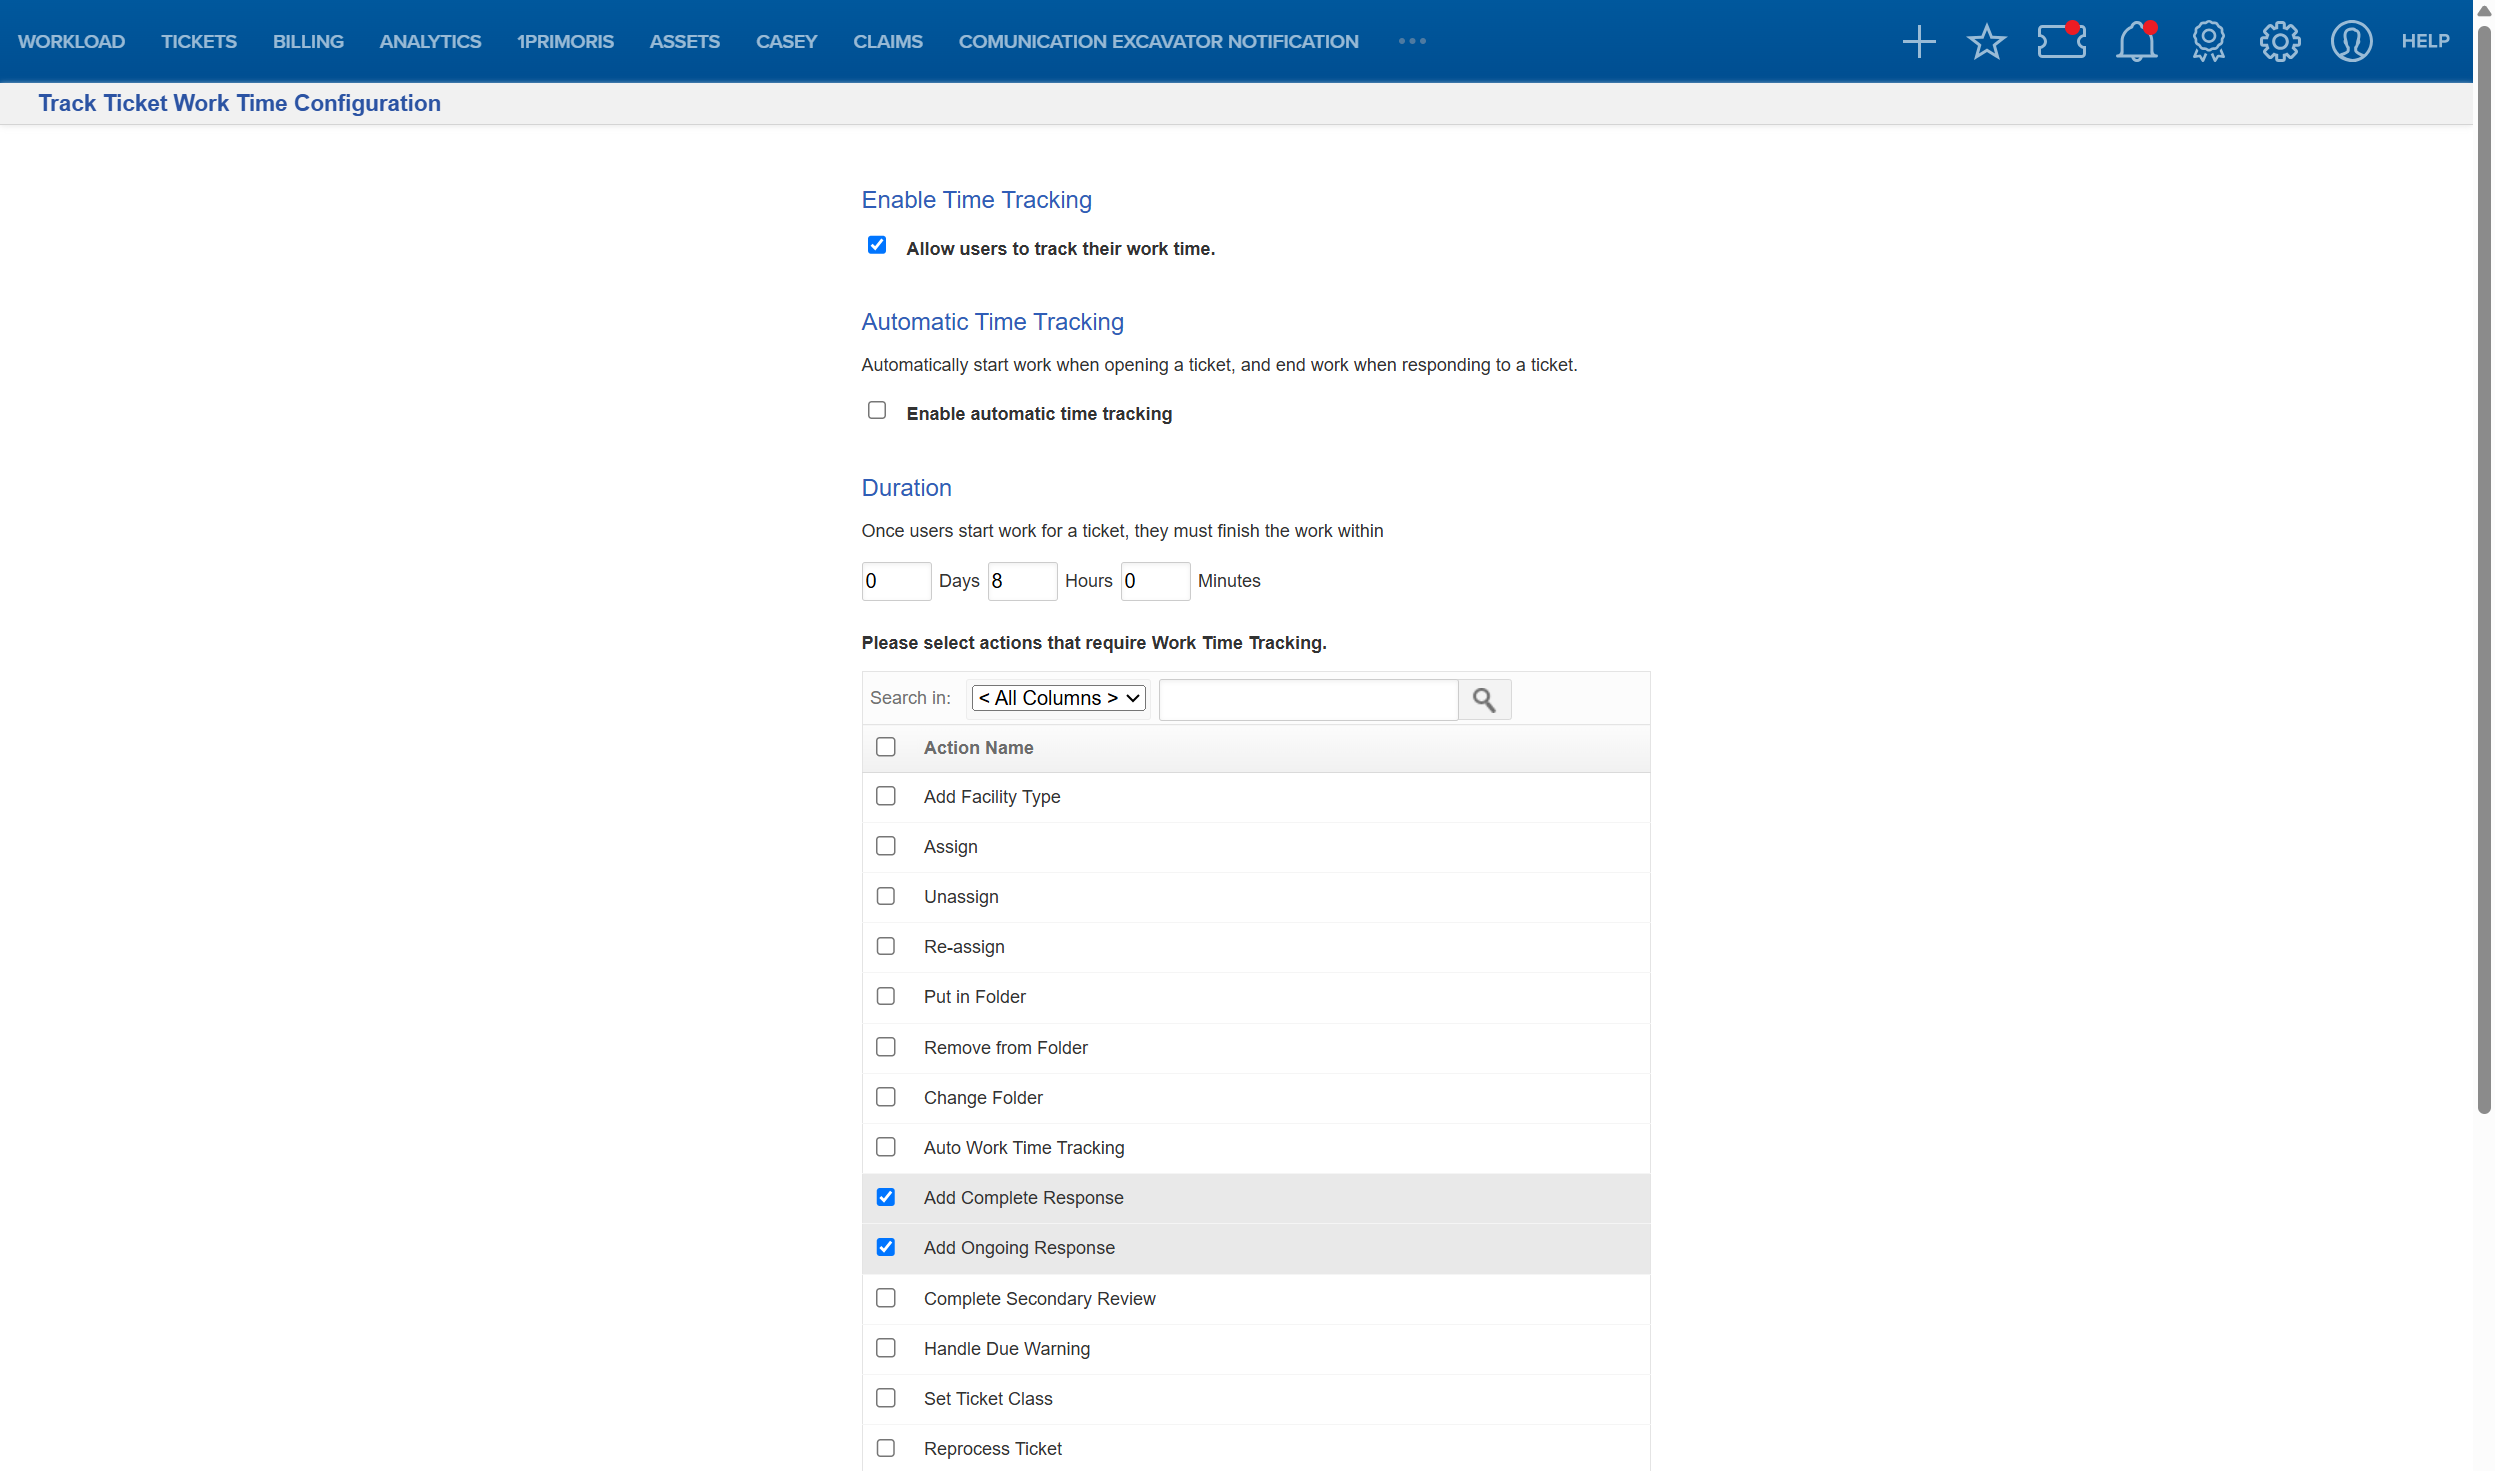
- Enable Time Tracking: Allows users to track work time.
- Automatic Time Tracking: Starts work when a ticket is opened and ends when a response is submitted.
- Duration: Set the maximum time users can work before the system automatically ends work (set to 0 for no limit).
Click Save.

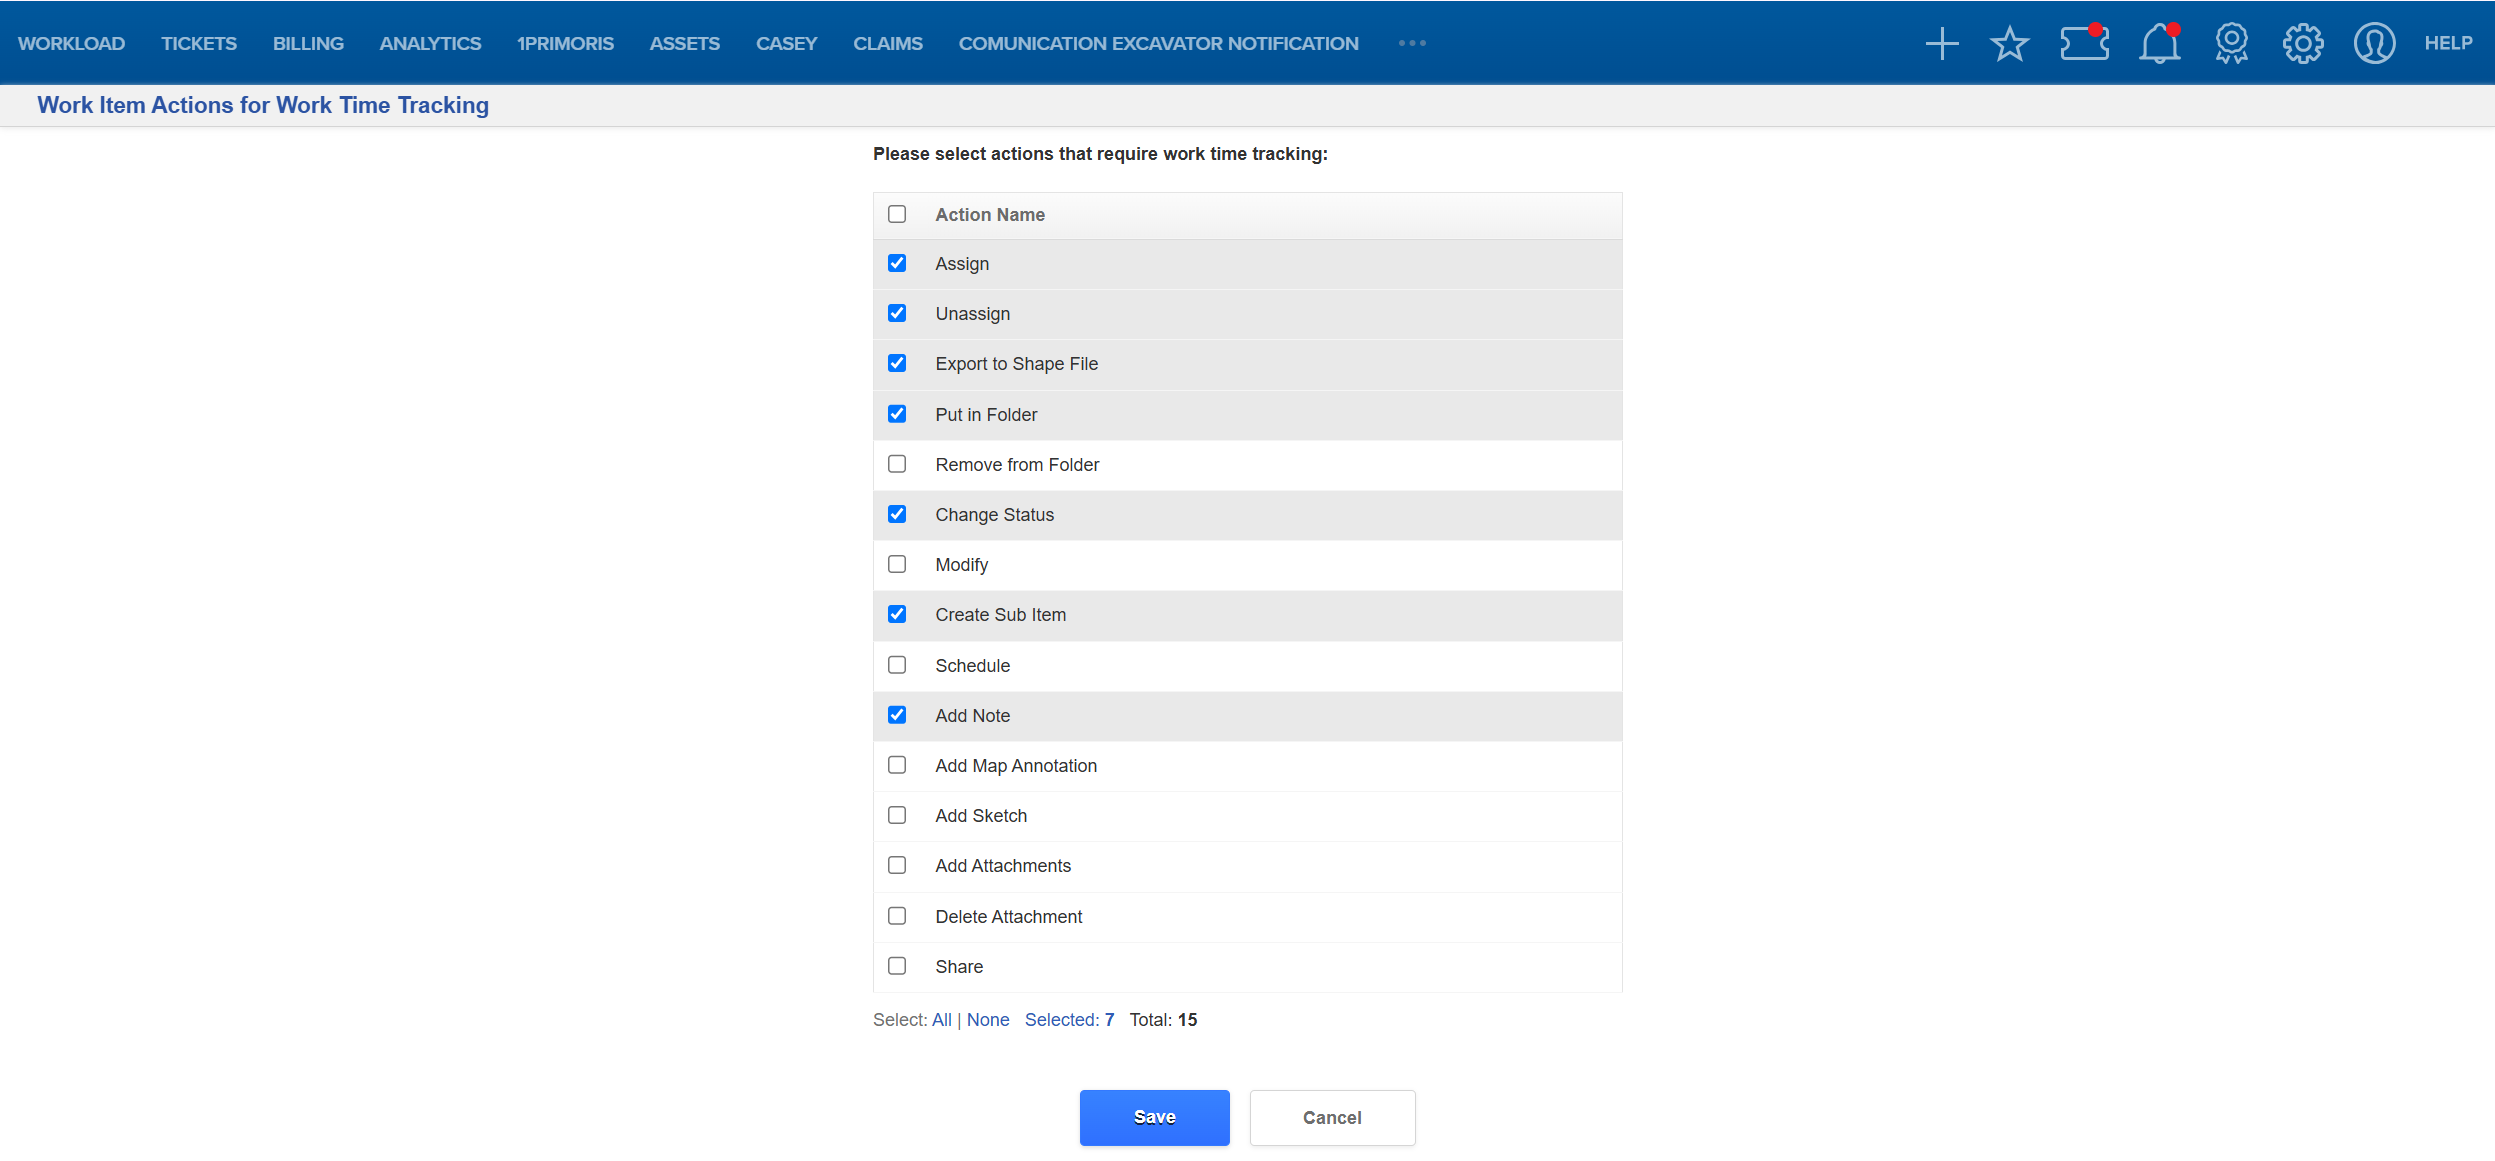
Configure Work Item Actions
- From the configuration page, select Configure Work Item Actions.

- Choose which actions should be unavailable until Start Work is selected and click Save.
Configure Forms for Work Time Tracking
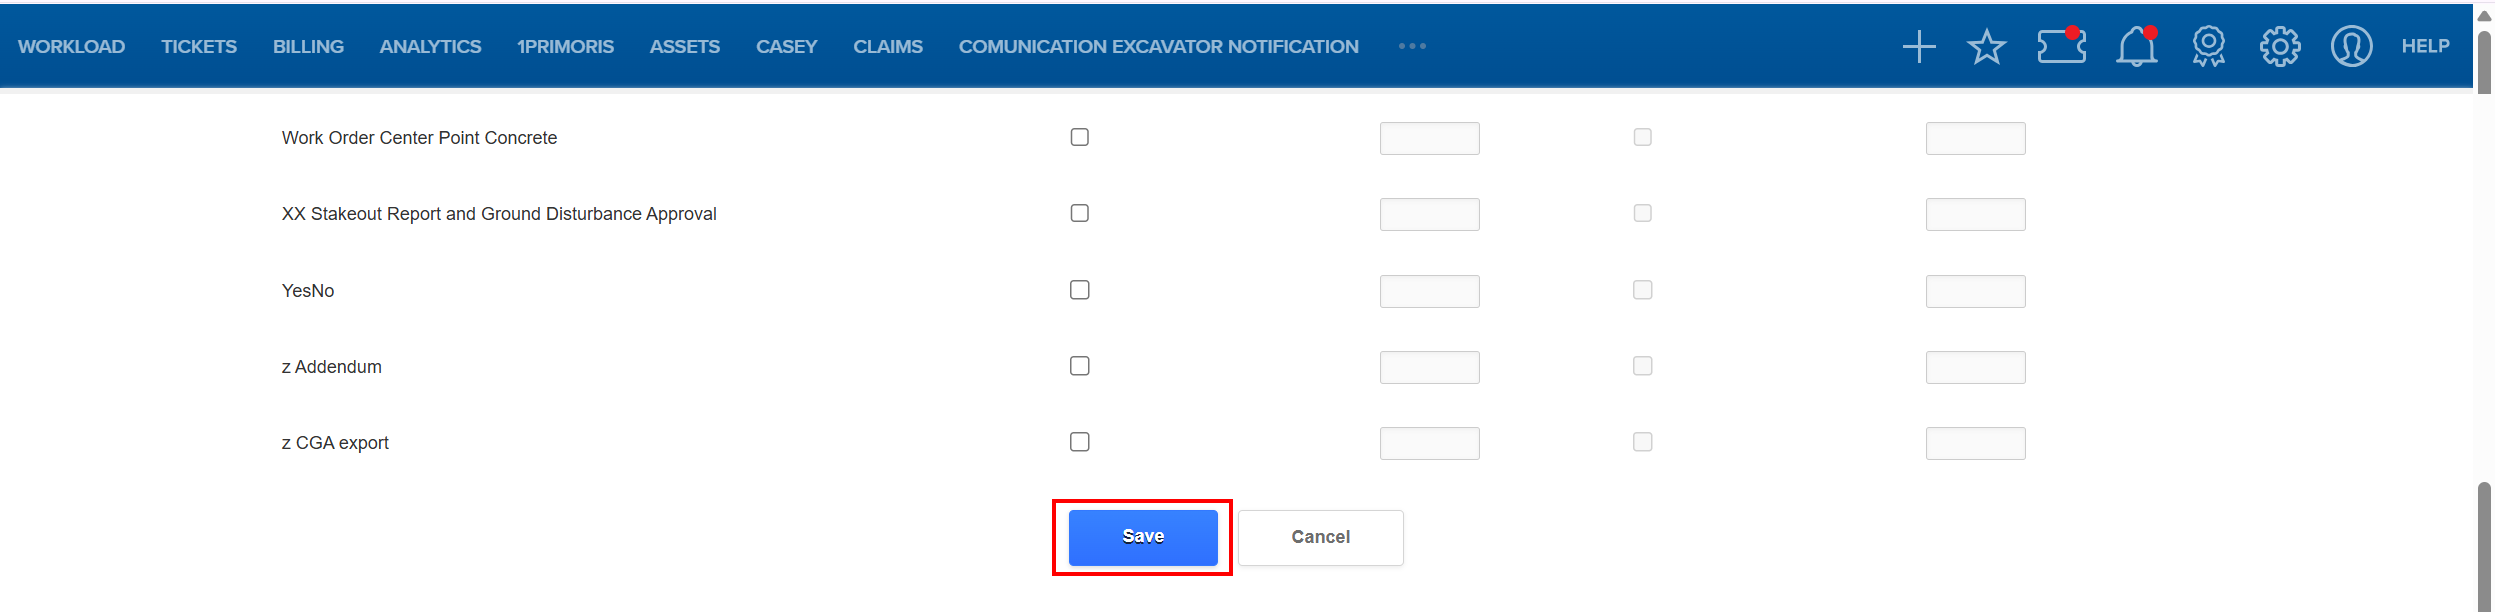
- Select Configure Forms for Work Time Tracking.

- Choose the forms to enable tracking and configure:
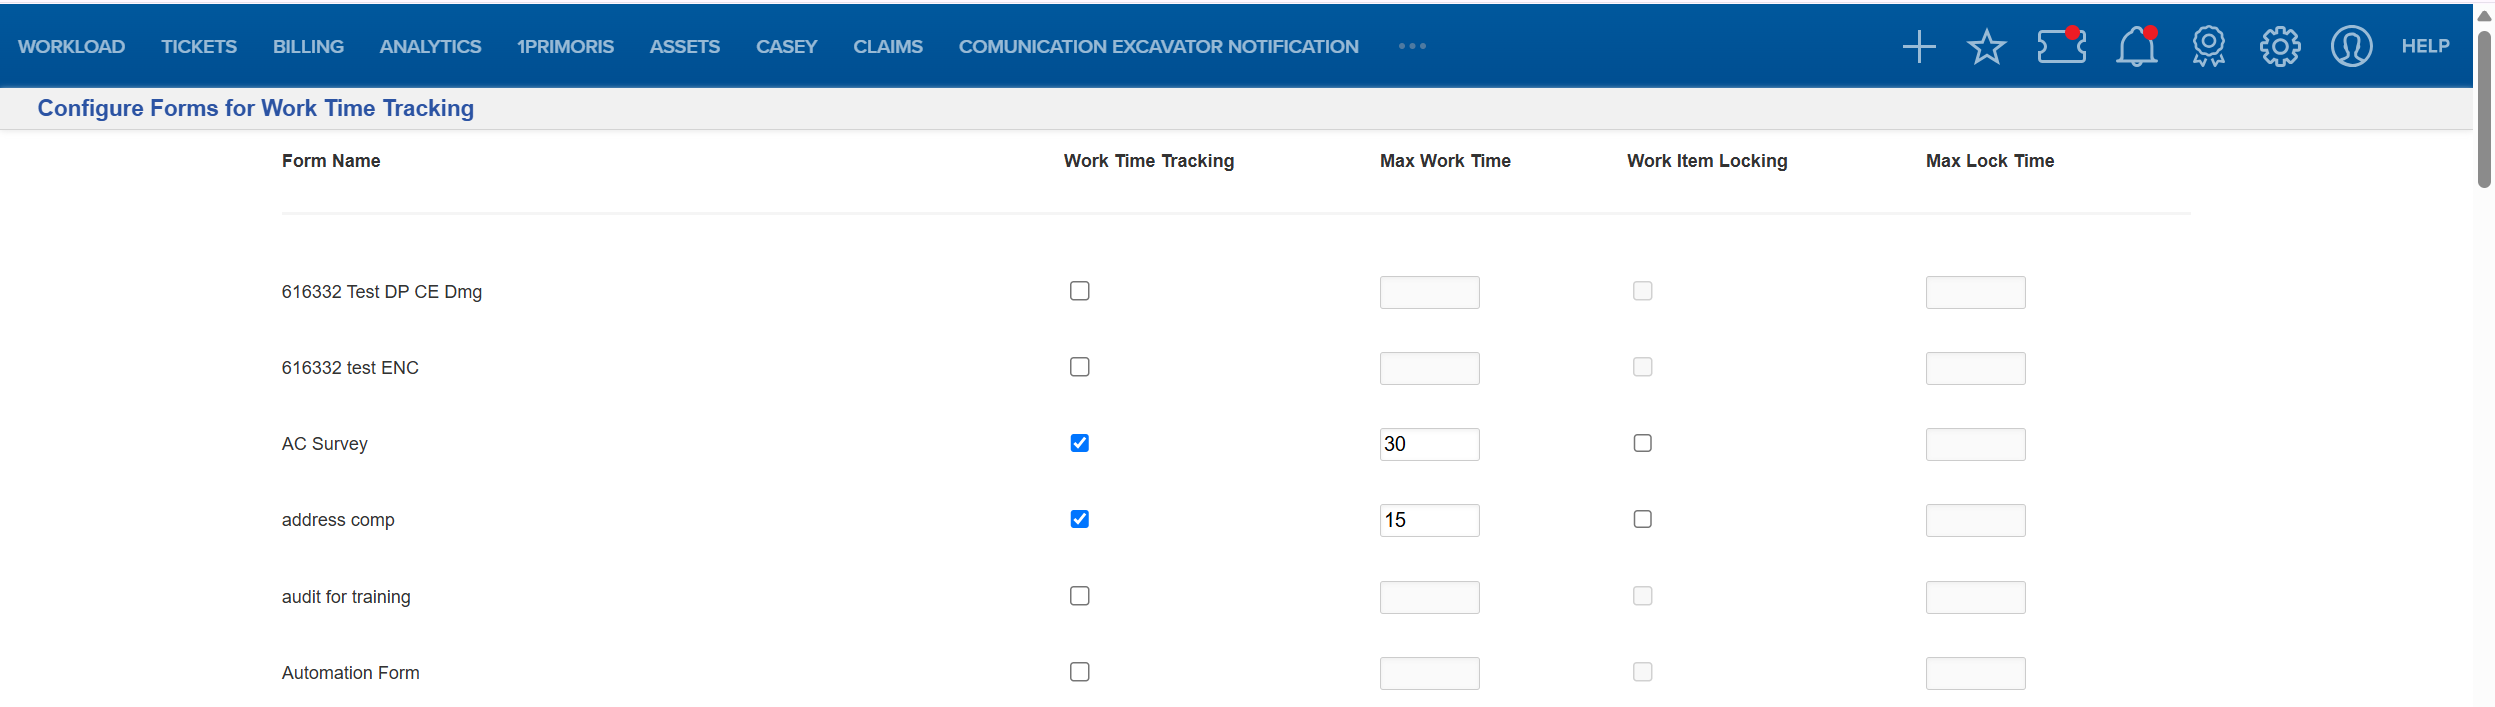
- Work Time Tracking (enable tracking)
- Max Work Time and Max Lock Time
- Work Item Locking (optional, restricts simultaneous edits)
- (Optional) Enable breadcrumbing instead of time tracking if needed.
- Click Save.
Configure Breadcrumbing (Optional)
- Go to the app designer: System Management > Administration > Work Management > App Designer.

- Select your desired form.

- Select Settings.

- Choose the Options tab, select Enable Breadcrumbing, and Save the form.
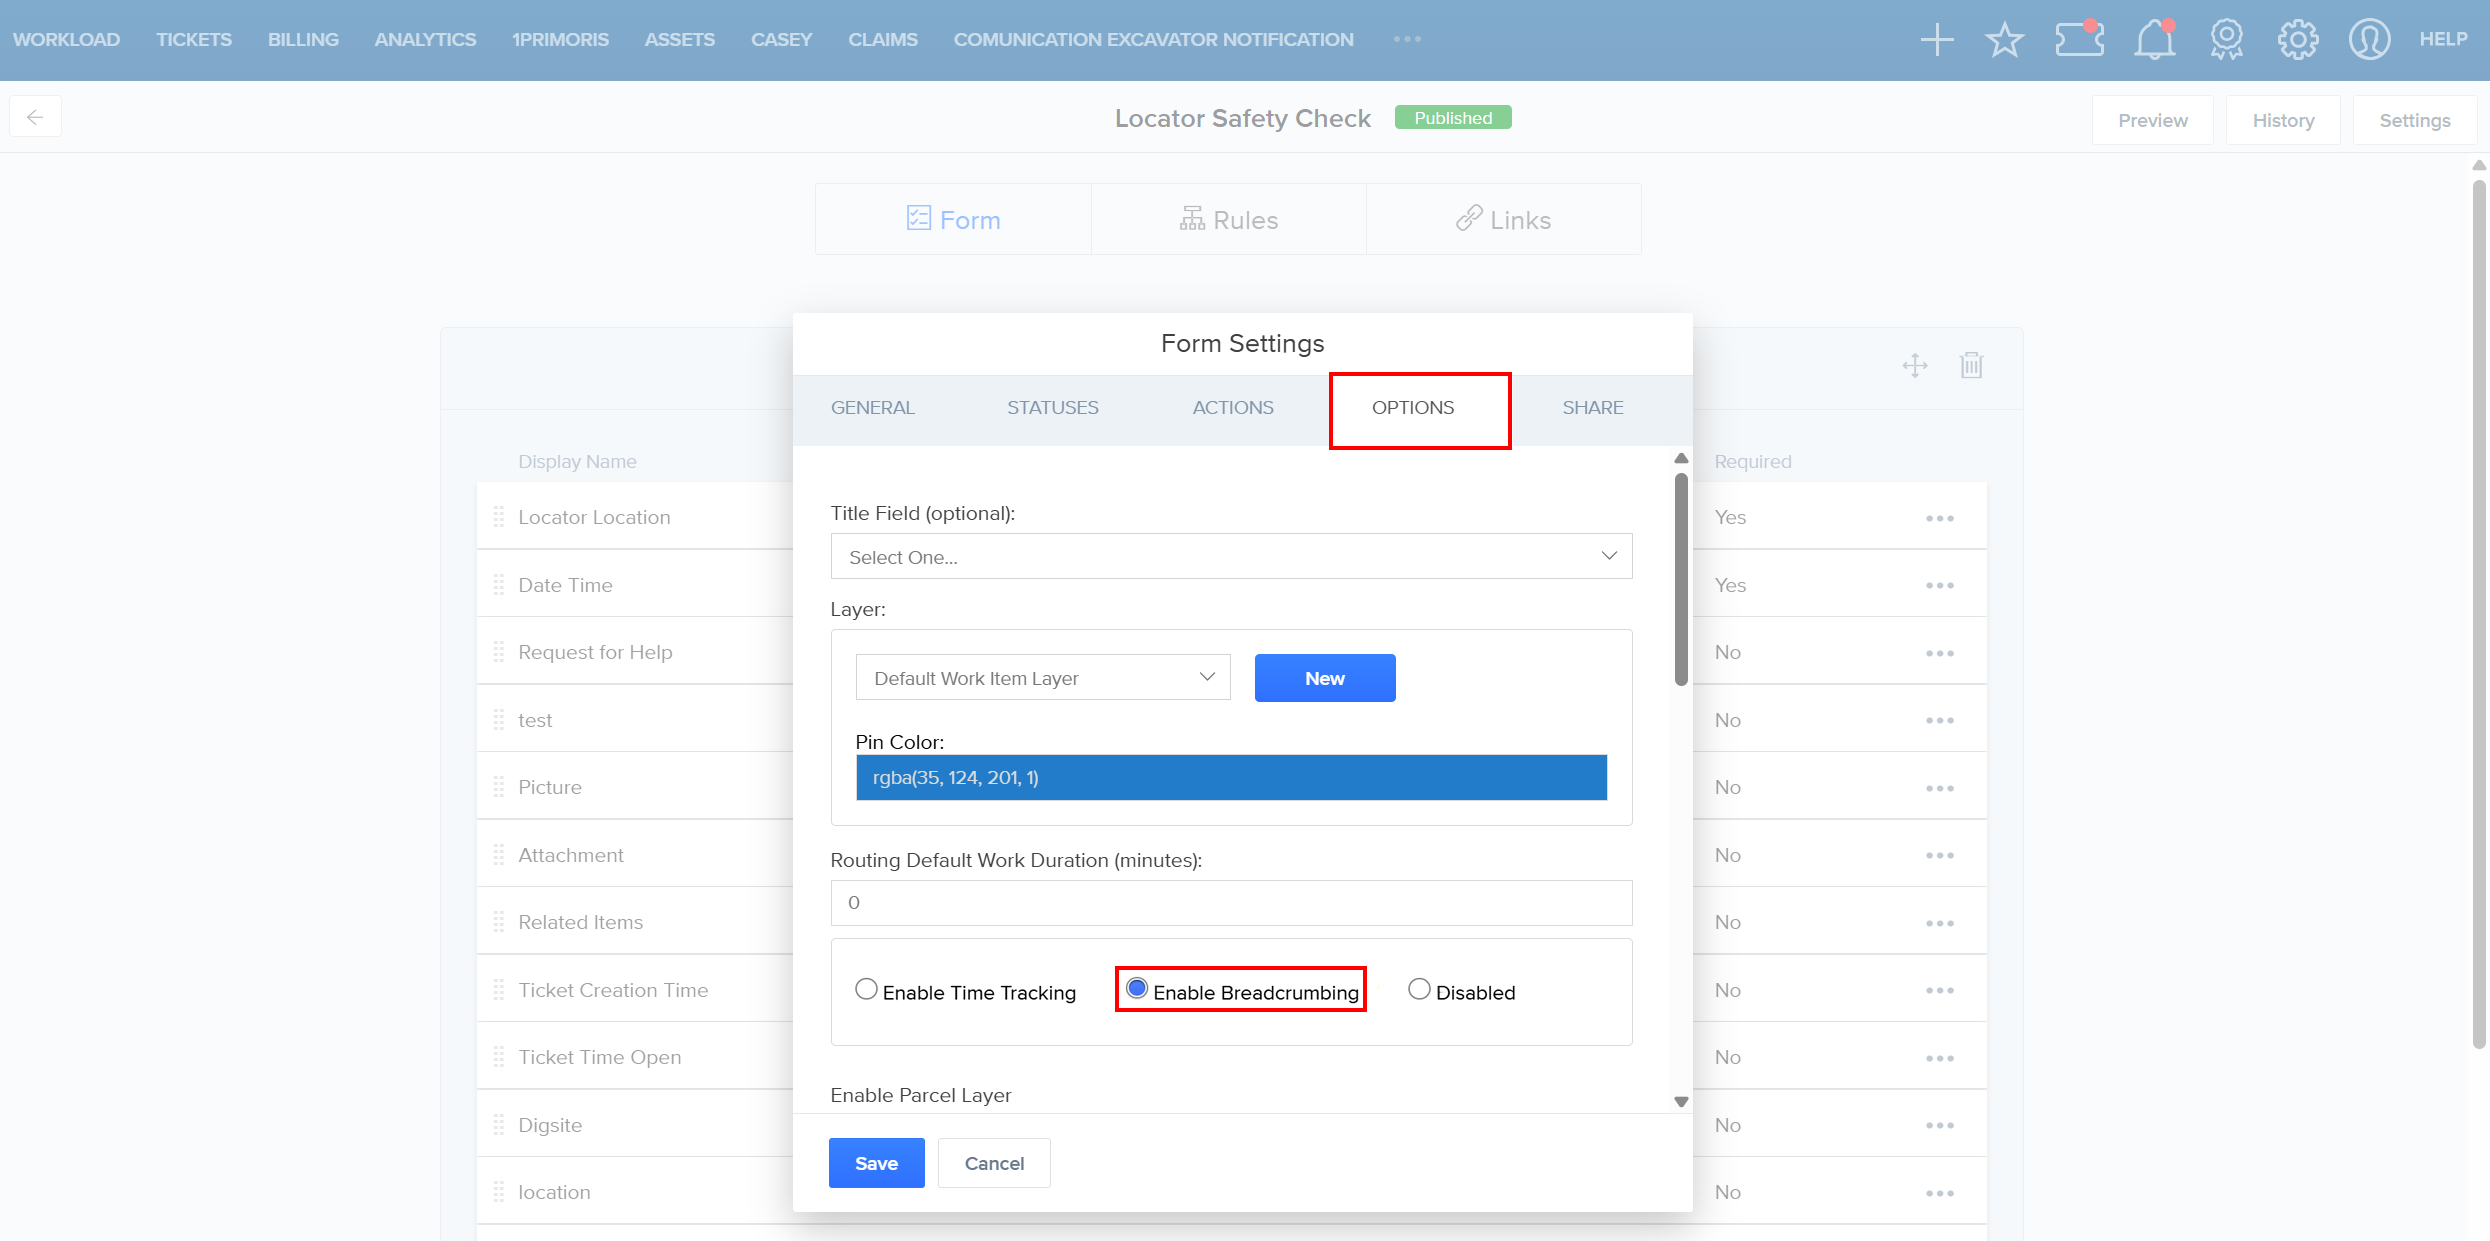
- Breadcrumbing records a user’s GPS path while working on an item.
- The system captures location data continuously and displays it as a path on the map.
- A configurable buffer can extend tracking coverage around the recorded path.
FAQ/Troubleshooting:
Q: Why can’t I enable both Work Time Tracking and Breadcrumbing on the same form?
A: These features are mutually exclusive. A form can only use one at a time to ensure accurate tracking and system performance.
Q: What happens when the work time limit is reached?
A: The system automatically ends the work session, updates audit history, syncs data, and unlocks the item if needed.
Q: Why are some actions missing from the Actions menu?
A: Certain actions may be restricted until you click Start Work, based on your configuration settings.
Questions? Contact us!

Was this article helpful?
That’s Great!
Thank you for your feedback
Sorry! We couldn't be helpful
Thank you for your feedback
Feedback sent
We appreciate your effort and will try to fix the article